Audrey Flicks and Marilyn Lips: A classic make-up tutorial
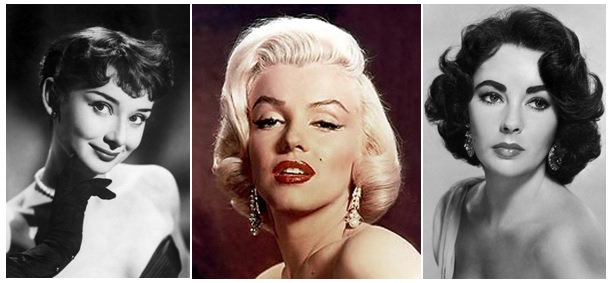
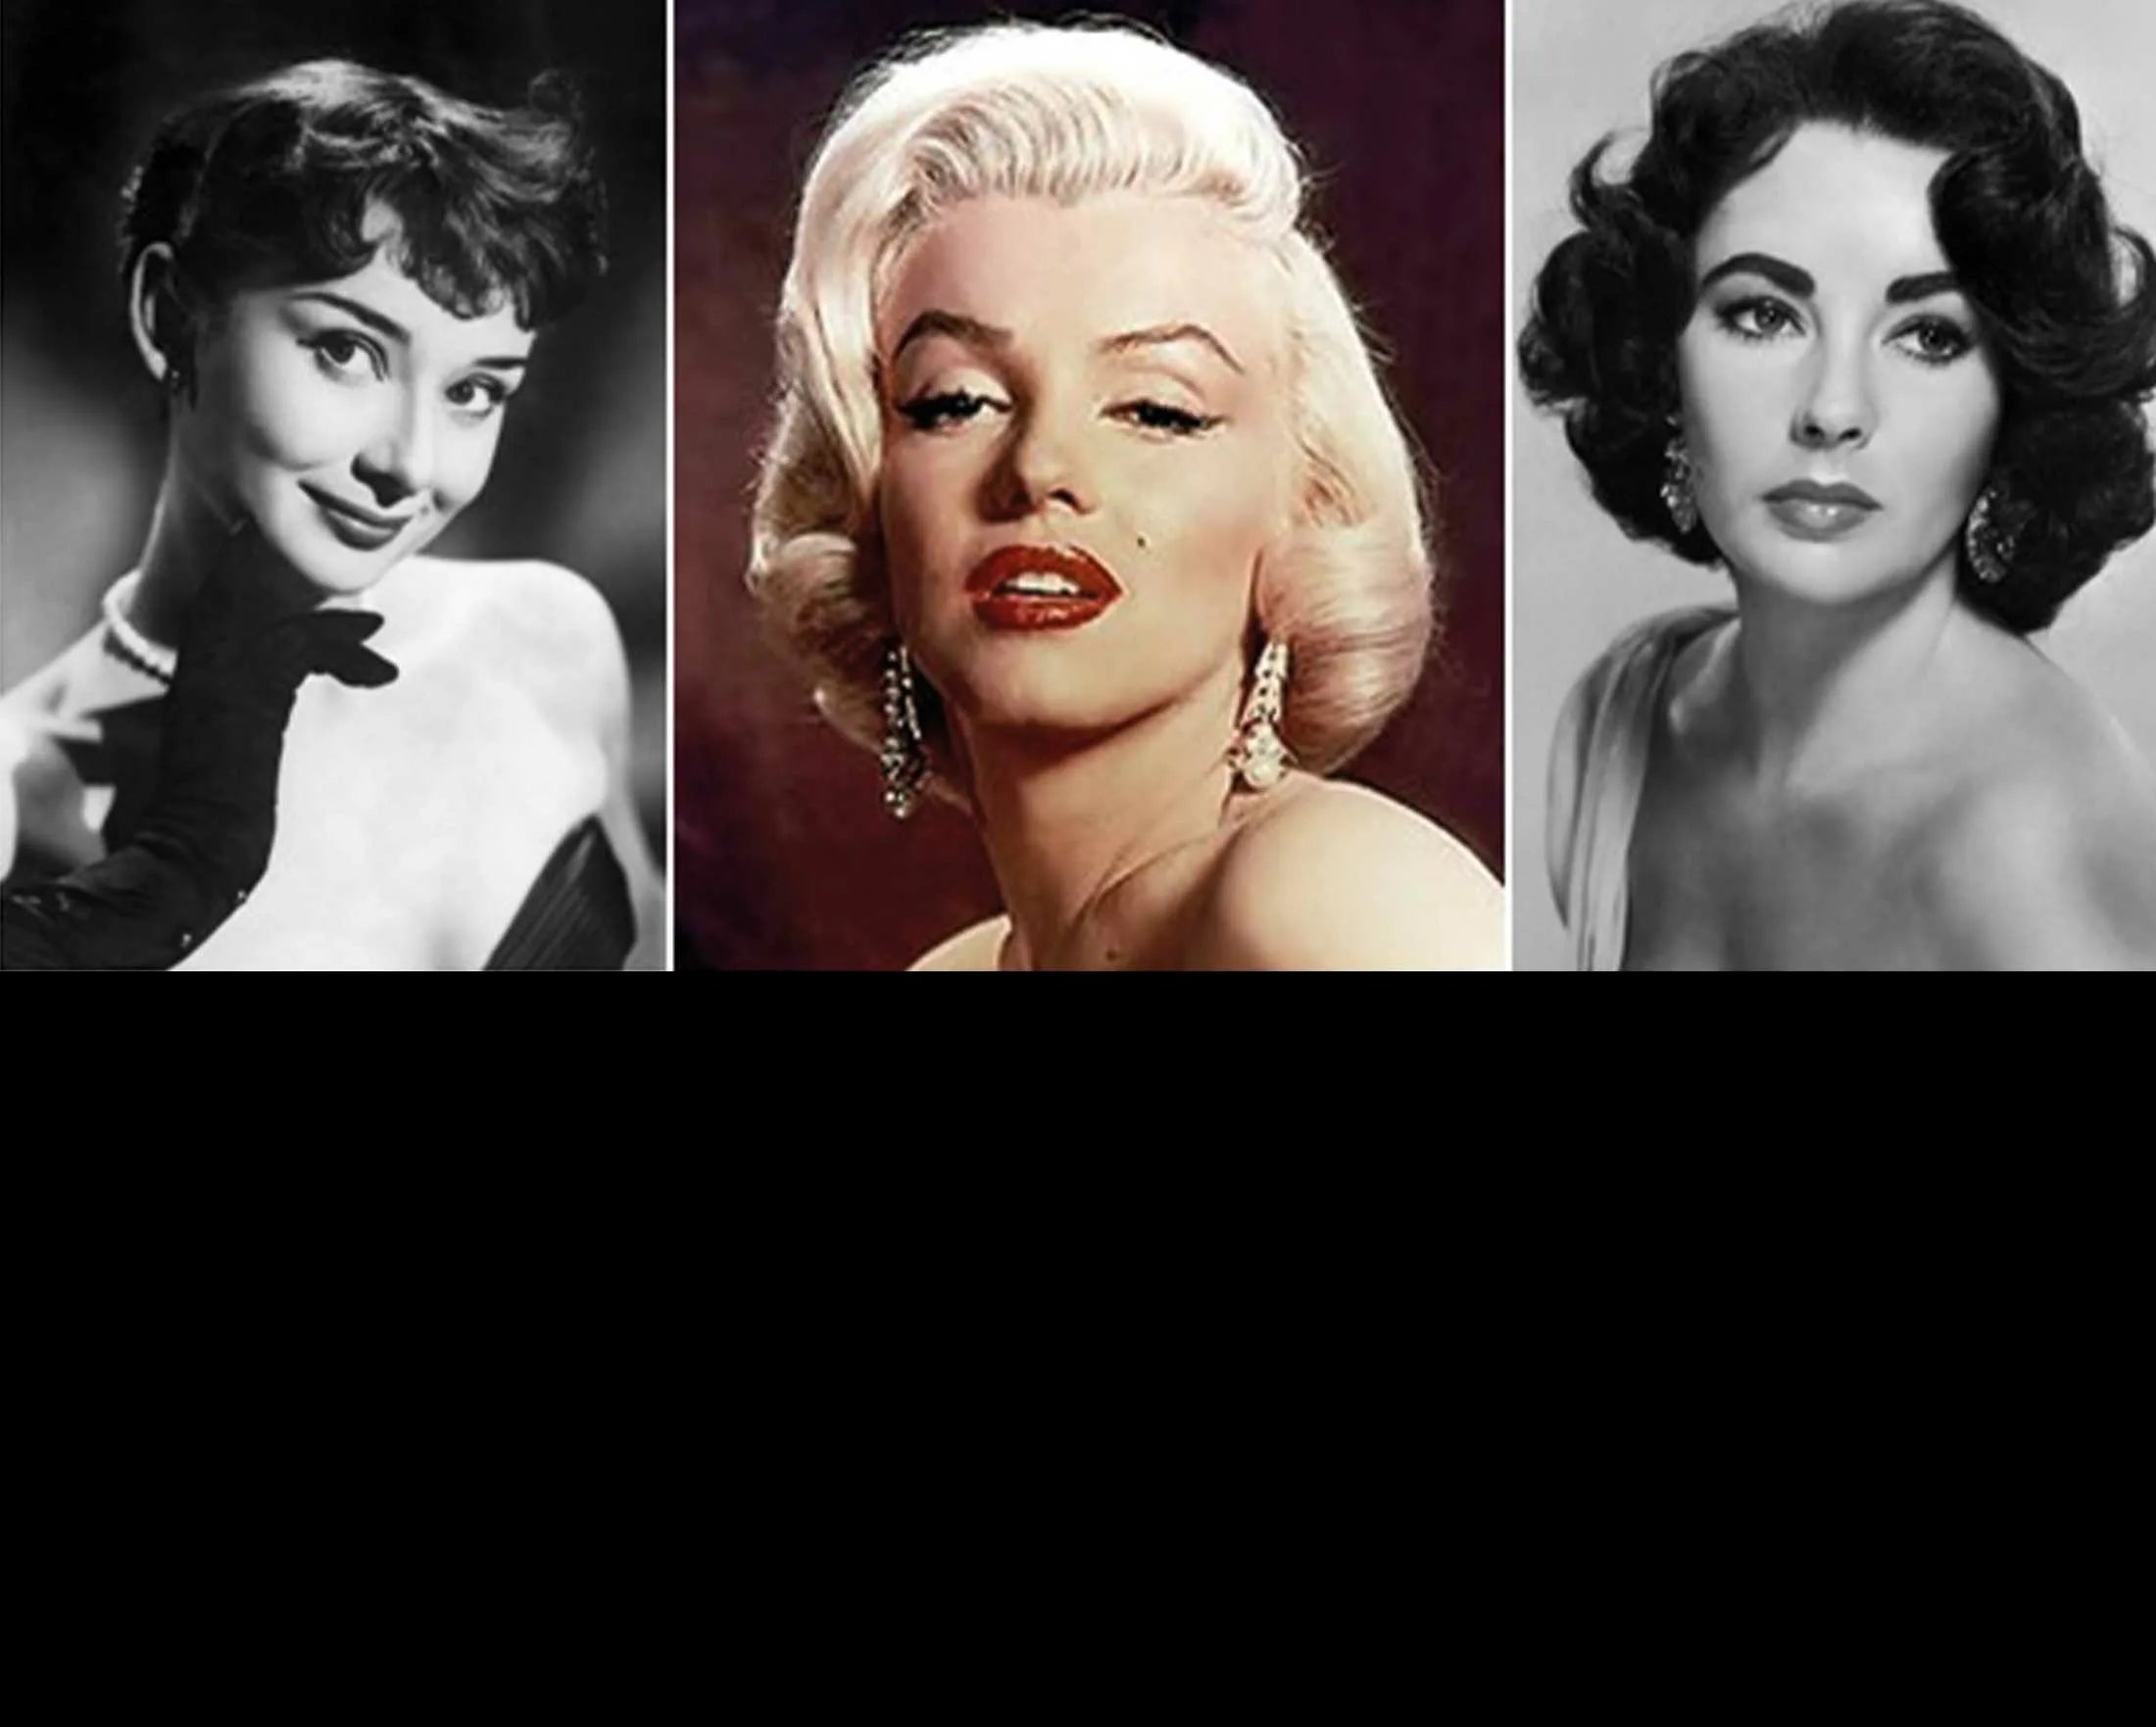
Are you in love with the glamour and classic beauty of the Old Hollywood stars? If Audrey Hepburn is your style icon, you look to Ms Elizabeth Taylor for fuller brows and Marilyn Monroe for sex appeal then we have just the beauty looks for you. We caught up with the very knowledgeable make-up artist, Samantha Parker, a London Fashion Week proficient, to recreate all the classic make-up looks harking back to the fifties.

Å“The 1950's and 60's gave us some of the most influential women on the planet when it comes to beauty, even now these classic make up looks of the beautiful 50's eyeliner flick, full brows and red lips are recreated every day. - Samantha Parker.
Read on as Samantha talks us through three easy-to-follow must-have make-up looks¦
How to create: Audrey Flicks:
The perfect eyeliner flick is used in almost every make-up look in one way or another, and for some as an everyday make-up staple. On the opposing hand, there are others tirelessly making futile attempts to channel their inner Audrey but ultimately failing miserably. With this simple tutorial, however, anyone can achieve the perfect Audrey inspired look. Firstly, pick your product; pencil, liquid or gel liner. My weapon of choice is ALWAYS gel, which is water resistant, smooth, black and surprisingly fluid. Most people opt for a liquid, but I'd leave this to the pro's, especially if you haven't got a steady hand. I always do eyeliner as my last step (before adding a few extra coats of mascara on top, of course), as you don't want eyeshadow or pigment to cover your lovely flick, it needs to be jet black and clean. For gel liner try the Bobbi Brown long-wear gel liner, £18, which is long wearing and quick-drying, so no smudges! Use with a thin, synthetic haired angled brush, not too soft and not coarse. The Benefit hard angle/definer brush, £16.50, will do just the trick.
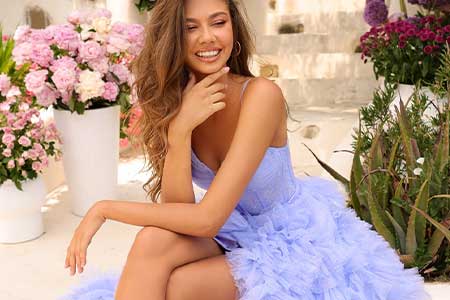
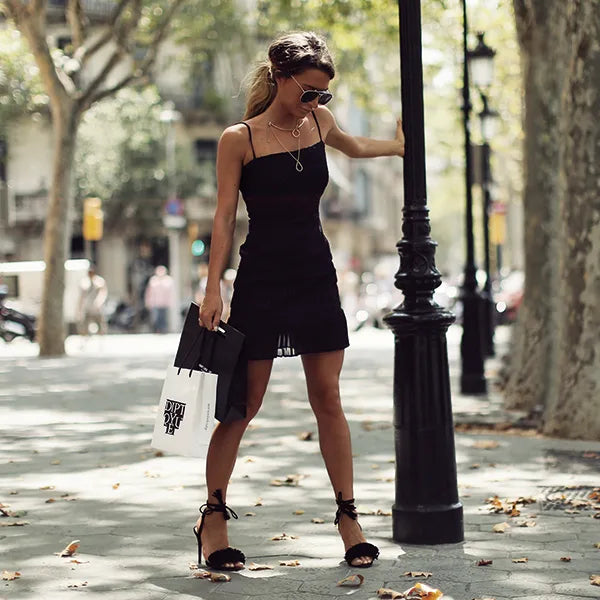
Dresses to match Audrey's style
Step 1:
Work your product, in this case gel liner, right into the middle part of the lash line giving you a guide line to follow and connect.
ARTIST TIP: Tilt your head back and look into your mirror, you'll see your lashes much easier, are less likely to stab yourself in the eye and can get that inner corner line super fine and tapered.
Step 2:
From your middle line you've just created work back from the inner corner of the eye back to this middle point. Repeat from the outer corner. Work outwards to inwards and connect that line.
ARTIST TIP: Never try and do one fluid line in one go, press it into the lash line in sections, "connect the dots' and smooth over and thicken out as you desire.
Step 3:
Now the flick. Look straight on into your mirror and draw yourself 2 guidelines. Your guidelines should be where you want to see the flick, it should follow the line of your bottom lash and work out towards the end of the brow. Keep it short at first if you're unsure, but once your confidence builds you'll be able to sweep it on, no hassle.
ARTIST TIP: If you have hooded eyes, don't make it too long - you'll be left with 2 little triangles sticking out of the side of your eyes. Instead, use the liner to create definition and frame your eyes.
Step 4:
Again work outwards to inwards, sweep your brush with a very faint amount of product (pretty much all your excess off your brush) and that line should follow the bottom line of your lashes. Now here's the weird bit, don't flick it. Draw it straight- the flick will come from the top. Work outwards in thickening up and connecting that flick into the line you've done above your lash line. Once you're happy make it as thick and as long as you want!
ARTIST TIP: If you struggle with symmetry help yourself with some additional guidelines. Grab a nude coloured pencil or a concealer (matte, not creamy) and draw in those lines until you're happy that they are the same. That way you haven't committed yourself to black liner, which is much harder to get off if mistakes are made.
Step 5:
For the finishing touches add mascara, admire your beautiful liner flick, and now you can have some fun experimenting. Add a soft, subtle nude colour to your lid or create a beautiful smokey eye finish with grey or brown colours and just like that you've got a look that Audrey would be proud of!
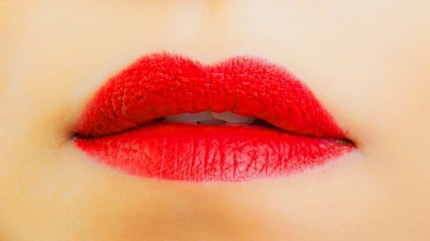
How to create: Marilyn Lips
Now for the perfect Marilyn pout to add to your gorgeous eye make-up and perfect your vintage beauty. You'll need three main products; a nice sharp lipliner, your favourite red lipstick and a lipbrush. Now the obvious colour to go for with Marilyn lips is red. Try orangey reds if you have a sun-kissed skin tone, cherry reds if you want to brighten up your complexion or deep stunning scarletts look amazing on blondes and those with fair skin. Popular choices to use are Illamasqua lipstick in Box, £18.50, and Mac lipstick in Ruby Woo, £15.50. Match your liner to your lipstick or change the tone to customize your own red - for example mixing a burgundy liner with a deep scarlett lipstick will give a stunning wine colour.
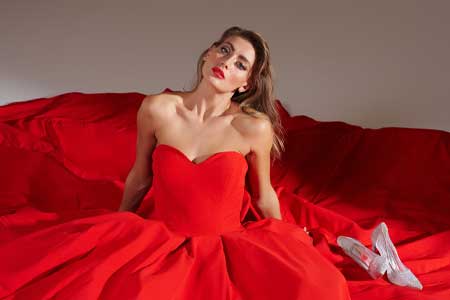
Dresses to match Marilyn's style
Step 1:
With the Marilyn lip there is one rule - go bold! I always start by "blocking out' the lip with a matte concealer and then applying a powder for a long lasting finish. Use your pencil to fill in the entire bottom lip. Start from the centre of the lip and work out. Get right into those corners.
Step 2:
For the top lip, start with the cupids bow (the top of your lip where you have a curve). Draw a little cross from left to right to create the beautiful shape of your cupids bow. ARTIST TIP: Pull your lips tight when filling in, this will stop the liner sitting in any lines and also give you a much smoother base to work on, and therefore a much smoother finish.
Step 3:
Again, work from the outer corner of your top lip upwards to the line you've just drawn on your cupids bow and connect the points.
ARTIST TIP: Always draw upwards to create fullness, if you work down towards the corners you can end up down turning your lip and looking sad or worse, giving yourself a skinny lip!
Now fill the whole top lip in with liner.
Step 4:
Take your lipstick of choice on your lipbrush and carefully smooth over your base colour. Lipliner has a waxy texture so it will grab the cream pigment of the lipstick. Your lip brush will help you keep in those sharp edges.
ARTIST TIP: If you make the mistake of drawing outside of the natural lipline then use your matte concealer on an angled or concealer brush to erase any mistakes. A cotton bud will help to get rid of any dodgy lipstick, roll it from the "mistake' towards the lip, don't drag it across your chin and make it worse!
Step 5:
And as simple as that, your Marilyn Monroe inspired lip look is complete! Easy wasn't it?
ARTIST TIP: To make lips look fuller use a nude pencil or matte concealer a couple of shades lighter than your skin tone to highlight your cupids bow and use a little of the product in the corners, just underneath the bottom lip to "lift' the lips and make it appear fuller- great for gorgeous mature ladies!
How to create: Elizabeth Brows
Brow trends are constantly changing and it's often hard to keep up! We've had the overplucked 90's brow, then the thick Cara Delevigne brow at the opposite end of the scale, and now there seems to be a happy medium with the new sculpted, ombre brow of the moment. The classic, vintage-esque style brow with the natural fullness of Elizabeth Taylor,is always a faultless look, however. To achieve this brow, I would use a powder based product with a wax built in, as the powder gives a softness which is harder to achieve with pencil, while the wax base grabs on to the hairs of the brow ensuring a long lasting finish. The Smashbox Brow Tech Trio, £17.50, is the ideal product and comes in four different shades for you to get the perfect colour match.
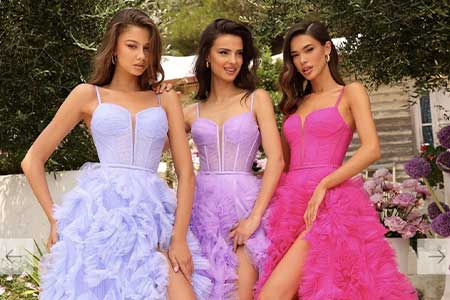
Dresses to match Liz's style
Step 1:
Always start by combing through the brows with either a brow brush or clean mascara wand. Use a little brow and lash gel or hairspray to keep those hairs in place and also to give your product something to adhere to.
Step 2:
With your angled brush take a little of your powder/wax combo and start underneath the brow and draw in the shape you want, nice and softly. Again, concealer is your best friend to get rid of mistakes. ARTIST TIP: If you're unsure of what shape, hold your brush at the side of your nose vertically. Brows should start where the top of your brush is. Angle the brush from the side of the nose to outer corner of your eye- that's where they should end with the "tail'. Now hold your brush from the edge of your nose to where your iris would be facing forward- that's where your arch should go and that is the most flattering shape for brows to frame your face perfectly.
Step 3:
Now, using your product fill in the brow from the initial "line' you have put in and fill from the bottom up in long sweeping strokes. Remember, the fuller, the better. Use a "ticking' or "flicking' motion as this will look more natural as it looks more like you're drawing little hairs. ARTIST TIP: Don't go too heavy when filling the inner part of the brow. In fact, save that till last. Use your product up on your brush by starting in the arch and then fill very lightly with very little product from the inner part of the brow for a more natural and less harsh look. For more gorgeous make-up looks check out Samantha's website. Now you have achieved those perfect make-up looks, team with one of our gorgeous party dresses and go out and have some fun!
Leave a comment
This site is protected by reCAPTCHA and the Google Privacy Policy and Terms of Service apply.